Affiliate Disclosure:Home Vacuum Zone is reader-supported. When you buy through links on our site, we may earn an affiliate commission at no additional cost to you. This does not influence our reviews or recommendations — we only recommend products we genuinely believe in.
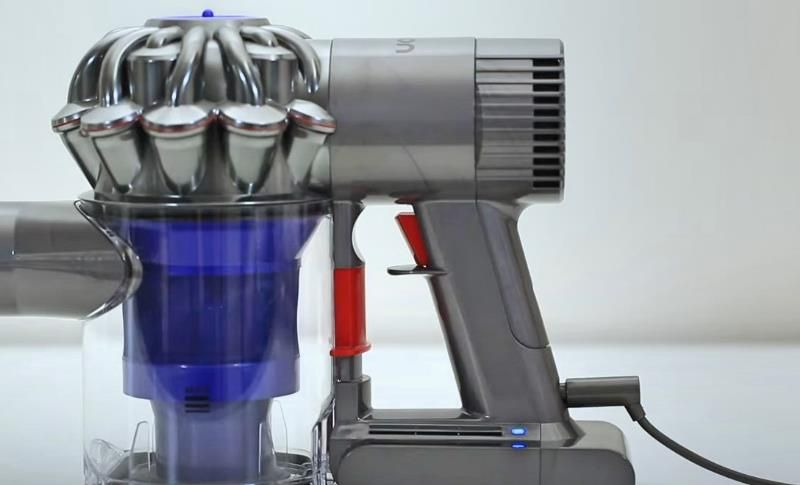
Is your Dyson cordless vacuum losing power faster than it used to? Battery degradation is the most common issue with cordless vacuums as they age, but other factors can also cause rapid power drain.
Below are the diagnostic steps, the fixes that actually help, and how to tell when the battery is genuinely finished.
Quick Troubleshooting Flowchart
Battery dies quickly
    ↓
Check for blockages (bin, wand, brushroll)
    ↓
Still poor performance?
    ↓
Check battery age
    ↓
3+ years old? → Consider replacement
Under 3 years? → Contact Dyson support (warranty)
How Long Should a Dyson Battery Last?
Battery Lifespan by Model
Dyson doesn’t publish a rated lifespan for any of its battery packs, and we’ve found no independent teardown testing that establishes one. What Dyson does commit to is the two-year warranty. So read the middle column as a rough expectation drawn from how lithium-ion packs age in this kind of duty cycle, not as a measured figure, and treat the Gen5 row as the softest of the lot given how recently it launched.
| Model | Release Year | Rough Expectation | Current Status |
|---|---|---|---|
| V6 | 2015 | 3-4 years | Legacy (discontinued) |
| V7 | 2017 | 3-4 years | Older model |
| V8 | 2016 | 4-5 years | Still common |
| V10 | 2018 | 4-5 years | Widely used |
| V11 | 2019 | 4-6 years | Popular current |
| V12 | 2021 | 4-6 years | Current model |
| V15 | 2021 | 4-6 years | Current flagship |
| Gen5 | 2023 | 5-7 years | Latest generation |
Factors Affecting Battery Life
Shortens Lifespan:
- Daily use vs occasional use
- Frequent full discharges (running to 0%)
- Storage in hot (>85°F) or cold (<40°F) environments
- Leaving on charger 24/7
- Exclusive use of Max/Boost mode
Extends Lifespan:
- Storage at 40-60% charge when not in use
- Room temperature storage
- Using Eco/Auto modes primarily
- Monthly full discharge/recharge cycles
- Clean filters and no blockages - see our vacuum maintenance guide for a complete schedule
Understanding Lithium-Ion Battery Chemistry
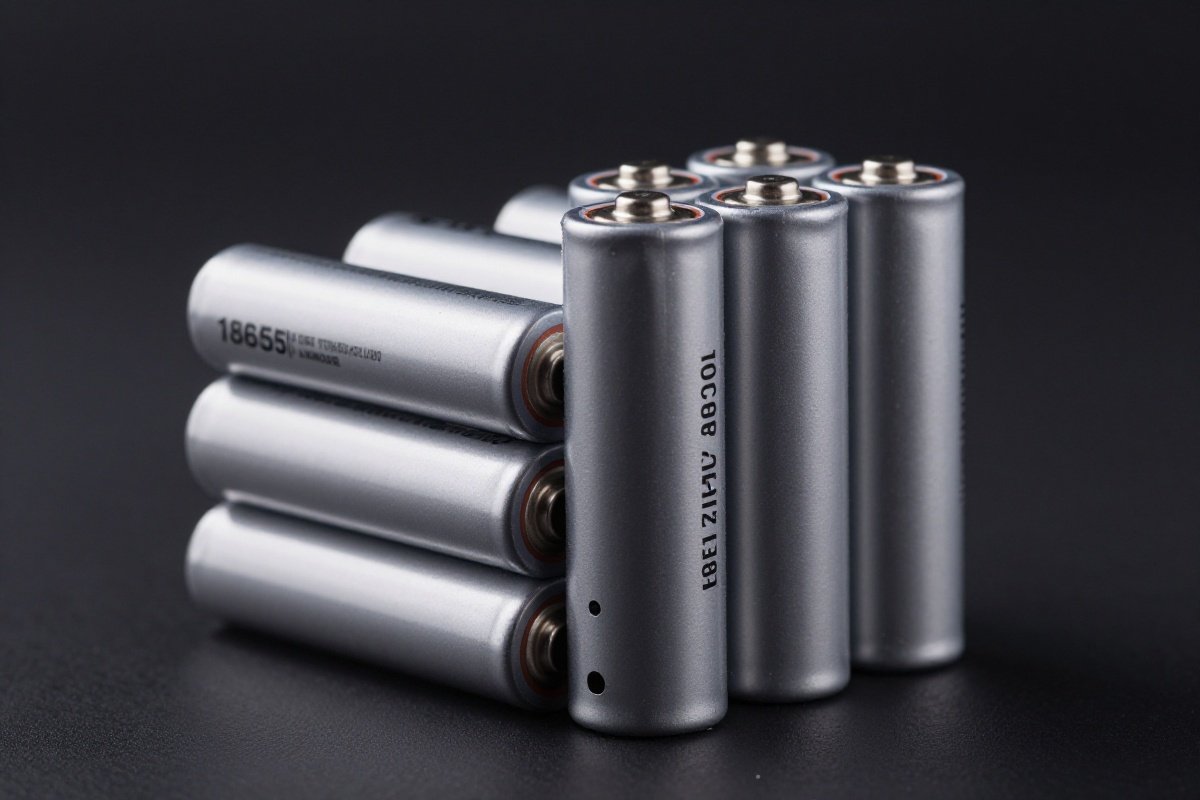
Dyson cordless vacuums - manufactured in Southeast Asia with R&D in the UK - use lithium-ion battery cells, the same technology found in smartphones and electric vehicles. Understanding how these batteries work helps you maximise their lifespan and recognise when replacement is necessary.
How Lithium-Ion Batteries Degrade:
- Chemical reactions inside battery cells cause gradual capacity loss
- Each charge cycle (0% to 100%) slightly reduces maximum capacity
- Heat accelerates chemical degradation significantly
- Calendar aging occurs even without use (batteries degrade sitting on shelf)
- After 300-500 full charge cycles, capacity typically drops to 80% of original
What “Battery Memory” Really Means: Unlike older nickel-based batteries, lithium-ion batteries don’t develop “memory effect.” You don’t need to fully discharge before charging. In fact, frequent partial charges (20% to 80%) are healthier than full discharge cycles. The common advice to “run it dead” occasionally serves to recalibrate the battery management system’s charge indicator, not to maintain battery chemistry.
Battery Management Systems (BMS): All Dyson models include sophisticated BMS circuitry that monitors cell voltage, temperature, and current. The BMS prevents overcharging, over-discharging, and overheating - all of which would damage the battery. When your Dyson displays charging errors or temperature warnings, the BMS is protecting your battery from damage. Newer models (V11 and later) have improved BMS algorithms that extend battery life by optimizing charging patterns and power delivery.
Diagnostic Steps
Step 1: Check for Blockages

A blocked vacuum works harder, draining battery faster.
Check These Areas:
- Bin: Empty if over halfway full
- Filter: Wash and dry completely (24+ hours)
- Wand: Remove and check for clogs
- Brushroll: Remove hair and debris
- Airways: Check all connections
How to Test:
- With vacuum running, listen for strain (high-pitched whine)
- Check suction strength with hand at wand end
- Poor suction = blockage somewhere
Why Blockages Drain Battery Faster: When your Dyson encounters a blockage, the motor continues trying to pull air through the system. This increases motor load dramatically - similar to driving a car uphill versus on flat road. The motor draws more current from the battery to maintain target RPM, and runtime drops accordingly. A badly blocked vacuum can cut out in a few minutes rather than running its rated time, even with a healthy battery. Nobody publishes a figure for how much a blockage costs you, so if your runtime has fallen off a cliff, clear the airways before you conclude the battery is dead.
Step 2: Examine Battery Indicator
V6, V7, V8 Models (LED Indicators)
| Light Pattern | Meaning | Action |
|---|---|---|
| Blue solid | 100-20% charge | Normal operation |
| Blue flashing | 20-10% charge | Charge soon |
| Amber solid | 10-0% charge | Charge now |
| Amber flashing | Charging | Wait for completion |
| Red flashing | Fault/overheating | Unplug, cool 30 min |
| No light | Dead battery or fault | Check charger/connections |
V10, V11, V12, V15, Gen5 (LCD Screen)
| Display | Meaning | Action |
|---|---|---|
| Charging animation | Normal charging | Wait for completion |
| ”Too hot/cold” | Temperature protection | Bring to room temp |
| Battery fault icon | Battery issue | Try reset or replace |
| Plug icon + fault | Charger issue | Try different outlet |
| Countdown timer | Normal runtime display | Monitor usage |
Step 3: Test the Charger
Symptoms of Charger Issues:
- No charging light when plugged in
- Intermittent charging (starts/stops)
- Vacuum works but won’t charge
Testing Steps:
- Try a different outlet
- Check charger cable for damage
- Ensure charging pins are clean
- Try a known working Dyson charger
Note: V6/V7/V8 chargers are not compatible with V10+ models.
Don’t buy a replacement charger by generation name, because one Dyson charger part often spans several model numbers and the boundaries aren’t where you’d guess. Check the output voltage printed on the brick you already have, then look up the part number Dyson lists against your exact machine on their spare-parts pages. One trap to avoid: the voltage stamped on a charger is higher than the nominal voltage of the battery it charges, so don’t try to match those two figures.
Using an incompatible charger may not damage your vacuum immediately (safety circuits prevent this), but it won’t charge properly or may charge very slowly. Counterfeit chargers lacking proper voltage regulation can potentially damage the battery management system.
Step 4: Check for Overheating
Dyson vacuums have thermal protection that prevents operation or charging when too hot.
Causes of Overheating:
- Prolonged Max/Boost mode use
- Blockages causing motor strain
- Operating in hot environments
- Battery degradation causing heat
Solution:
- Turn off and unplug
- Let cool 30-60 minutes
- Check for blockages before restarting
Temperature Operating Ranges: Dyson vacuums operate optimally between 50°F and 95°F (10°C to 35°C). Outside this range, you may experience reduced runtime or thermal protection activation. In cold weather (below 40°F), lithium-ion batteries temporarily lose capacity - this is normal and reversible. Let the vacuum warm to room temperature before use. In hot weather (above 95°F), the motor and battery generate more heat, triggering thermal protection more quickly. If you vacuum in a hot attic or store the vacuum in a hot garage, consider moving it to a climate-controlled area.
Step 5: Battery Reset (Calibration)
Recalibrating the battery management system can help with inaccurate charge readings.
How to Reset:
- Use vacuum until it stops completely (0%)
- Leave off for 30 minutes
- Charge uninterrupted for 4+ hours (overnight preferred)
- Use until fully discharged again
- Repeat charge cycle
Note: Only needed every 3-6 months, not after every use.
Why Calibration Works: The battery management system tracks charge level by monitoring voltage and current flow. Over time, these calculations can drift slightly from actual capacity, causing the display to show 50% when the battery is actually closer to 30%. A full discharge and recharge cycle allows the BMS to measure true capacity from 0% to 100%, resetting its internal calculations. This doesn’t restore lost capacity - it simply makes the indicator more accurate.
Common Issues and Solutions
Issue 1: Battery Won’t Hold Charge (Rapid Drain)
Symptoms:
- Full charge lasts only 2-5 minutes
- Sudden power loss during use
- Battery percentage jumps (50% to 10% instantly)
Likely Cause: Battery degradation (end of life)
Solutions:
- Check battery age (3+ years = replacement time)
- Try battery reset/calibration
- Replace battery (genuine or more affordable third-party options available)
Issue 2: Vacuum Works But Won’t Charge
Symptoms:
- Runs normally on current charge
- No charging light when plugged in
- Charger works with other devices
Likely Causes:
- Faulty charging port
- Battery management system fault
- Charger incompatibility
Solutions:
- Try different charger
- Clean charging contacts
- Check for port damage
- Contact Dyson support
Cleaning Charging Contacts: Over time, dust and oxidation can build up on the charging contacts, preventing proper connection. Use a dry cotton swab or microfiber cloth to gently clean both the contacts on the vacuum body and the charger pins. For stubborn oxidation, lightly dampen the cloth with isopropyl alcohol (90%+ concentration), clean the contacts, and let dry completely before attempting to charge. Never use water or abrasive cleaners on electrical contacts.
Issue 3: Red Flashing Light
Symptoms:
- Red light flashes when charging or running
- Vacuum won’t start or charge
Likely Causes:
- Battery fault
- Overheating protection
- Cell imbalance in battery pack
Solutions:
- Let cool completely (30-60 minutes)
- Try battery reset
- If persists, battery needs replacement
Issue 4: Short Runtime Despite New Battery
Symptoms:
- Replaced battery recently
- Still getting poor runtime
- Suction seems weak
Likely Causes:
- Blockages causing motor strain
- Using Max mode exclusively
- Counterfeit or faulty replacement battery
Solutions:
- Thoroughly clean all components
- Use Auto/Eco modes primarily
- Verify battery authenticity
Spotting Counterfeit Batteries: Unfortunately, counterfeit Dyson batteries exist on marketplaces like Amazon and eBay. Signs of counterfeits include: unusually low prices (genuine batteries maintain a consistent price floor), packaging with spelling errors or poor print quality, missing Dyson certification marks, batteries that feel lighter than original, and seller locations in regions known for counterfeits. Counterfeit batteries may work initially but often fail within months and can pose safety risks. Always purchase from authorized Dyson retailers or highly-rated sellers with verified purchase reviews.
When to Replace vs. Repair
For general guidance on how long vacuums last and the repair-vs-replace equation, see our brand lifespan guide.
Replace the Battery If:
✓ Battery is 3+ years old
✓ Runtime decreased 50%+ from new
✓ Battery indicator shows fault
✓ Vacuum is otherwise in good condition
✓ Cost of battery < 30% of new vacuum price
Buy a New Vacuum If:
✓ Vacuum is 5+ years old
✓ Multiple components failing
✓ Want newer features (laser detection, better battery)
✓ Repair costs exceed 50% of replacement
✓ Out of warranty and significant issues
Cost Comparison
| Option | Cost | Best For |
|---|---|---|
| Genuine Dyson Battery | Mid-range investment | Maintaining warranty, reliability |
| Third-Party Battery | Budget-friendly | Budget-conscious, older models |
| New Dyson (V15) | Premium | Latest features, full warranty |
| New Dyson (V11) | Mid-to-premium | Good balance of features/price |
| New Dyson (V8) | Mid-range | Budget option, proven design |
Break-Even Analysis:
- A replacement battery extending life 3 years costs a fraction per year of what a new vacuum would
- A new vacuum lasting 5 years costs roughly three times more per year than a battery swap
Additional Considerations for Upgrade Decisions: Beyond simple cost calculations, consider these factors when deciding between battery replacement and purchasing a new model. Newer Dyson models offer significantly improved features: the V11 introduced LCD screens with real-time performance monitoring, the V15 added laser dust detection that reveals microscopic particles, and the Gen5 features enhanced filtration capturing 99.99% of particles. Battery technology has also improved - Gen5 models provide up to 70 minutes of runtime compared to 20-30 minutes on older V6/V7 models. If you vacuum frequently or have a large home, these improvements may justify the higher cost of a new vacuum rather than simply replacing the battery on an older model.
How to Replace Your Dyson Battery
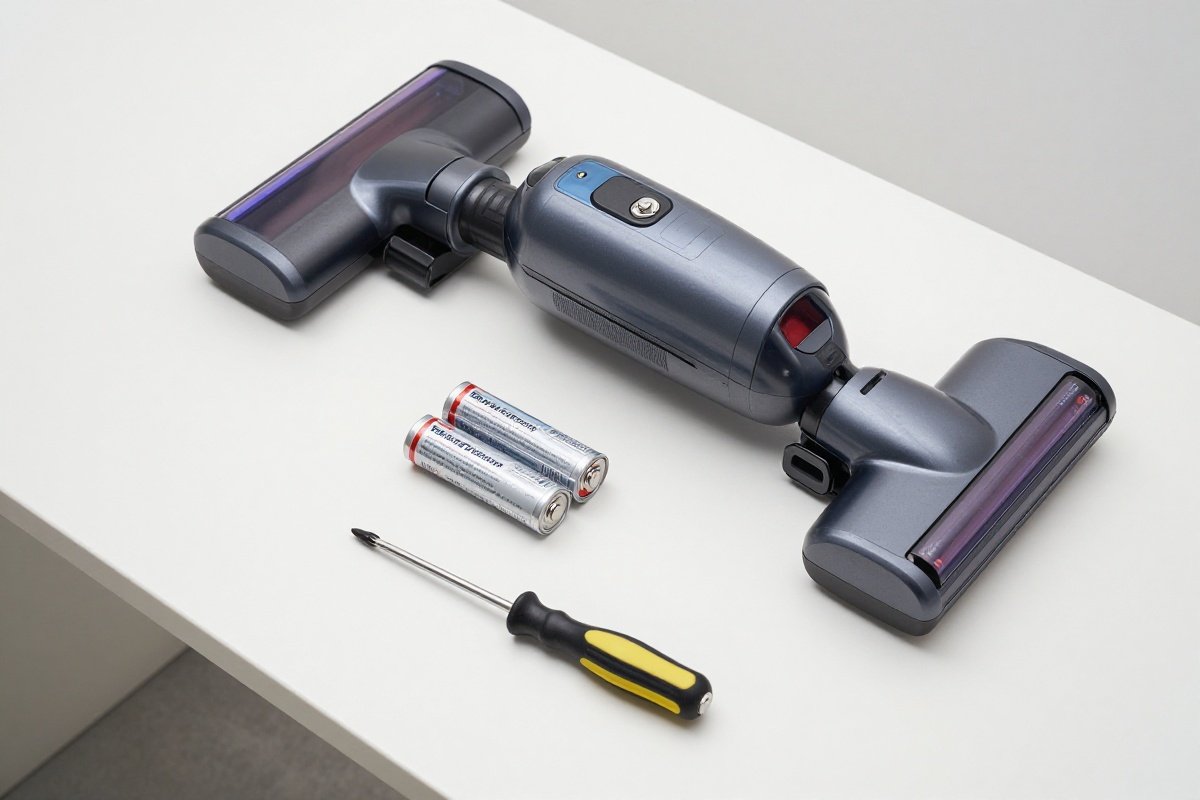
Tools Needed
- Replacement battery
- Phillips screwdriver (screw-fixed machines only)
- Clean, dry workspace
Click-in machines (tool-free)
Not every recent Dyson takes a click-in pack. Look at the point where the handle meets the battery: if there’s a large release button that lets the battery drop out, yours is a click-in machine and this is the procedure. If there’s no release button, skip to the screw-fixed steps below, whatever generation you own. Dyson’s own click-in pack, part 970938-01, is listed for the V11, V15 Detect and Outsize, so plenty of otherwise-modern machines are in the screw-fixed camp.
- Power off vacuum completely
- Remove wand and attachments
- Press battery release button (usually on handle)
- Slide battery down and away from vacuum
- Install new battery by sliding up until it clicks
- Charge fully before first use (4+ hours)
Time: 1-2 minutes
Screw-fixed machines (requires a screwdriver)
- Power off and unplug
- Remove battery screws (2-3 screws on battery housing)
- Disconnect battery connector
- Remove old battery
- Connect new battery and secure with screws
- Charge fully before use
Time: 5-10 minutes
After Replacement
- Charge fully (4-6 hours for first charge)
- Perform battery reset (run to empty, then full charge)
- Test runtime on normal power mode
- Monitor performance over first week
Breaking In a New Battery: New lithium-ion batteries often require 2-3 full charge cycles to reach optimal performance. Don’t be alarmed if your first charge provides slightly less runtime than expected - this is normal. During the first week, use the vacuum normally but avoid prolonged Max mode sessions. After 3-5 complete charge cycles, the battery should deliver its full rated capacity. If runtime remains significantly below expectations after this break-in period, contact the battery supplier - you may have received a defective unit.
Battery Maintenance Tips
Daily/Weekly
- Empty bin after each use
- Clean brushroll of hair/debris
- Check filter monthly (wash if dirty)
Monthly
- Run battery to empty once
- Check for blockages
- Clean charging contacts
Long-Term Storage
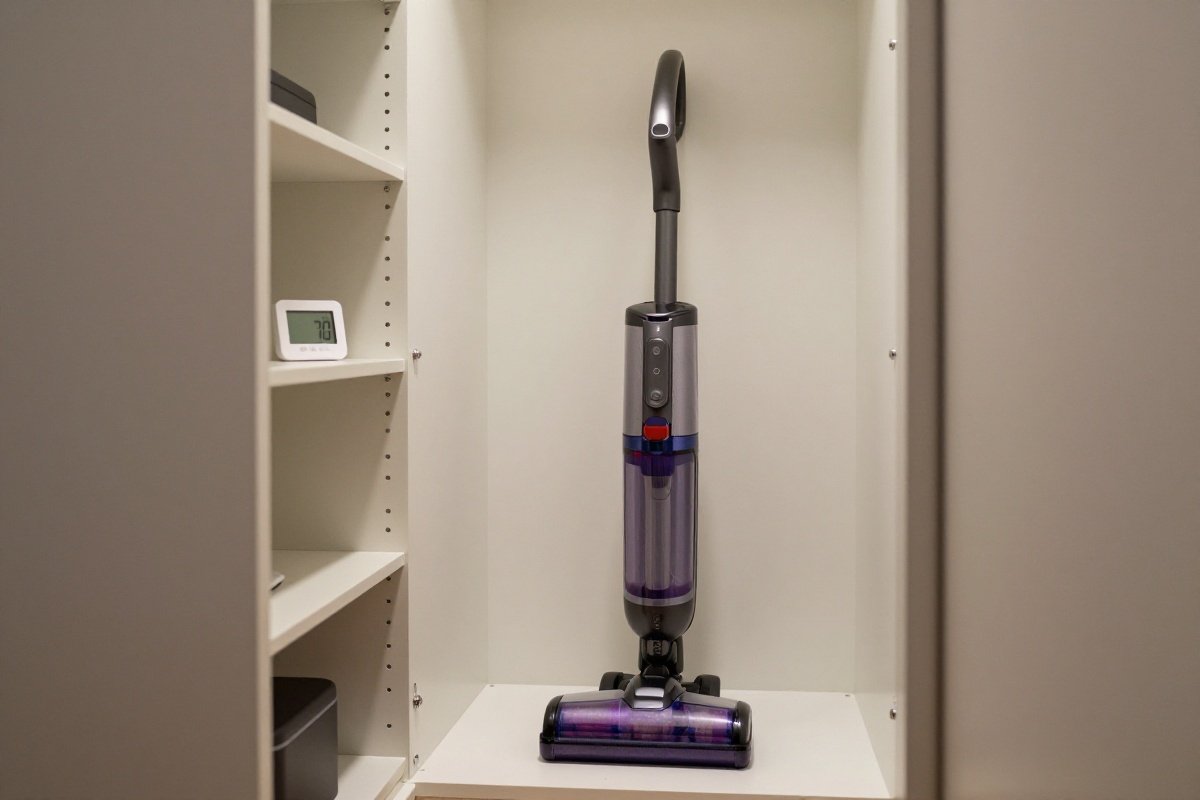
- Store at 40-60% charge (not full, not empty)
- Keep at room temperature (60-80°F)
- Remove from charger
- Use every 1-2 months to maintain battery health
What to Avoid
- ❌ Leaving on charger 24/7
- ❌ Storing in hot car/garage
- ❌ Running to 0% every time
- ❌ Using only Max/Boost mode
- ❌ Getting vacuum wet
The Science Behind Storage Recommendations: Storing lithium-ion batteries at high charge levels (80-100%) accelerates chemical degradation, while storing at very low levels (0-20%) risks deep discharge damage. The 40-60% charge range minimizes stress on the battery cells. If you won’t use your Dyson for extended periods (vacation, seasonal storage), charge to 50%, store in a cool location, and check every 2-3 months. If the charge has dropped below 20%, recharge to 50%. This maintenance prevents the battery from entering a deep discharge state that can permanently damage cells and reduce capacity.
Warranty Information
Dyson Battery Warranty
Coverage: 2 years from purchase date
Covers: Manufacturing defects, premature failure
Doesn’t Cover: Normal wear, physical damage, water damage, third-party batteries
What’s Covered:
- Battery won’t hold charge within 2 years
- Charging faults
- Manufacturing defects
What’s Not Covered:
- Gradual capacity loss after 2+ years
- Damage from drops or water
- Issues from third-party batteries
- Blockage-related issues
How to Claim:
- Contact Dyson support (online chat or phone)
- Provide proof of purchase
- Describe issue in detail
- They may troubleshoot first
- If covered, replacement sent or repair arranged
Further Reading
- How Often Should You Vacuum? Complete Guide by Floor Type & Lifestyle
- How to Deep Clean Carpet Without a Machine: 3 DIY Methods (2026)
- How to Remove Mold from Carpet: 10-Step DIY Guide (2026)
Recommended Replacement Batteries
Genuine Dyson Batteries
Dyson packs are cut for one generation, so check which model you own before you order anything. Dyson lists each pack against the machines it fits rather than against a whole family: the click-in pack, part 970938-01, covers the V11, V15 Detect and Outsize, while the V6, V7, V8 and Gen5 all take something different. Match the pack to your exact model, and buy from Dyson or an authorised retailer so you can return it if the fitment is wrong.
Pros:
- Guaranteed compatibility with the model it’s cut for
- Maintains warranty
- Known quality and lifespan
- Safety tested
Cons:
- Higher cost than third-party alternatives
- Limited availability for older models
- Fits one generation only, so an upgrade means a new pack too
Third-Party Batteries
Pros:
- Significantly cheaper than genuine batteries
- Often advertised at a higher capacity (see the caveat below)
- Widely available
Cons:
- Variable quality
- May void warranty
- Safety concerns with some brands
Higher Capacity Batteries: Some third-party manufacturers offer batteries with higher mAh (milliamp-hour) ratings than the genuine Dyson pack they replace. While higher capacity sounds appealing, be aware that these claims aren’t always accurate, and higher capacity batteries are often physically larger or heavier. Additionally, the Dyson’s motor and controls are calibrated for specific battery characteristics - an oversized battery might cause the BMS to misreport charge levels. If choosing a higher-capacity third-party battery, read reviews carefully to verify that the advertised capacity is genuine and the battery fits properly.
Recommended Products
Dyson Click-in Battery for V11, V15 Detect and Outsize (part 970938-01)
Genuine pack for V11, V15 Detect and OutsizeDyson's own click-in pack, part 970938-01. It fits the V11, V15 Detect and Outsize machines and nothing else, so check which machine you own before ordering. Dyson sells it direct rather than through Amazon.
What We Like
- Genuine Dyson quality
- 60-minute runtime restored
- Easy installation
What We Don't
- Expensive for a battery compared to third-party alternatives
- Aftermarket options available at lower cost with similar capacity
- Fits the V11, V15 Detect and Outsize click-in machines only; V6, V7, V8 and Gen5 take a different pack
Continue Reading
Explore more maintenance & floor care content or browse our other categories.
Frequently Asked Questions
- How long should a Dyson battery last?
- Dyson doesn't publish a rated lifespan for its battery packs, so nobody can give you a hard number. As a working expectation, plan on somewhere around 3-5 years of normal use before capacity loss becomes obvious, with the older V6 and V7 packs at the shorter end and the newer ones, which have better battery management, at the longer end. Heavy daily use shortens that; light use extends it. Dyson's own commitment is the two-year warranty on the battery. Factors that shorten battery life include frequent full discharges, storing in extreme temperatures, leaving on charger 24/7, and operating in high-power modes exclusively. Lithium-ion batteries naturally degrade over time regardless of use, so even rarely-used batteries will lose capacity after 4-5 years.
- Why is my Dyson dying so fast?
- Your Dyson may be dying quickly due to several factors: (1) Battery degradation from age (3+ years) or heavy use; (2) Blockages in the vacuum causing the motor to work harder and drain battery faster; (3) Using maximum power mode exclusively instead of auto or eco modes; (4) Dirty filters restricting airflow and increasing power draw; (5) Cold temperatures reducing battery capacity temporarily; (6) A faulty battery or charging system. First, check for blockages in the wand, bin, and filters - clean thoroughly. Try using lower power modes. If the battery is 3+ years old, it's likely reaching end of life and needs replacement. If under warranty (2 years), contact Dyson support for potential battery replacement.
- Can I replace a Dyson battery myself?
- Yes, you can replace most Dyson batteries yourself with basic tools. There are two fitting types and they don't split neatly by generation. Some machines take a click-in pack that drops out when you press a release button where the handle meets the battery; others are screw-fixed and need a Phillips screwdriver and a few minutes more. Check your machine for that release button before you order, because the packs aren't interchangeable: Dyson's click-in pack, part 970938-01, is listed for the V11, V15 Detect and Outsize only. Genuine Dyson packs cost more than third-party ones but maintain warranty and reliability. Always unplug the vacuum and follow safety precautions. Dyson provides battery replacement guides on their support website.
- Is it worth replacing a Dyson battery or buying a new vacuum?
- Replace the battery if your Dyson is less than 5 years old and otherwise functions well. A genuine battery is a small fraction of what a new flagship Dyson costs, and a third-party pack is cheaper again. If your vacuum is 4+ years old, consider whether newer models offer features worth upgrading for (better battery life, laser detection, improved suction). For V10 and newer models, a new battery usually makes more sense than a new vacuum, since the vacuum technology hasn't changed dramatically. For V6 or V7 models, consider upgrading to a newer model for better runtime, features, and warranty. Work it out per year of extra life you expect to get: on that basis a battery swap almost always beats a new machine. Also factor in environmental impact - replacing batteries reduces e-waste.
- Why does my Dyson flash red or blink when charging?
- Dyson flashing red or blinking lights indicate specific issues: (1) Flashing red (all models): Battery fault or thermal protection activated - unplug and let cool for 30+ minutes; (2) 12 amber flashes (V10/V11): Battery too hot or cold - bring to room temperature; (3) 18+ red flashes: Battery needs replacement or has cell fault; (4) No light when plugged in: Check charger connection, outlet, or try different outlet; (5) Solid amber: Normal charging (some models). For LCD models (V11/V12/V15/Gen5), error codes display on screen. If flashing persists after cooling and reset attempts, the battery likely needs replacement. Contact Dyson support if under warranty - battery defects are covered for 2 years from purchase.
Written By
Home Vacuum Zone
Our team researches vacuum cleaners against published specifications and independent lab results to help you make confident buying decisions.
Related Articles
How to Remove Mold from Carpet: 10-Step DIY Guide (2026)
Learn how to safely remove mold from carpet with our 10-step DIY guide. Includes safety precautions, recommended products, and when to call professionals. Fix small mold patches under 10 square feet.
Vacuum Brush Roll Not Spinning? 4 Easy Fixes (Step-by-Step)
Fix your vacuum brush roll that's not spinning with our step-by-step guide. Learn to clean, replace belts, and restore suction in 15 minutes or less.
Why Does My Vacuum Smell? 8 Causes & Fixes [2026]
Learn why your vacuum smells like burning, pets, or mustiness. 8 common causes with fixes, prevention tips, and best vacuums for odor control.